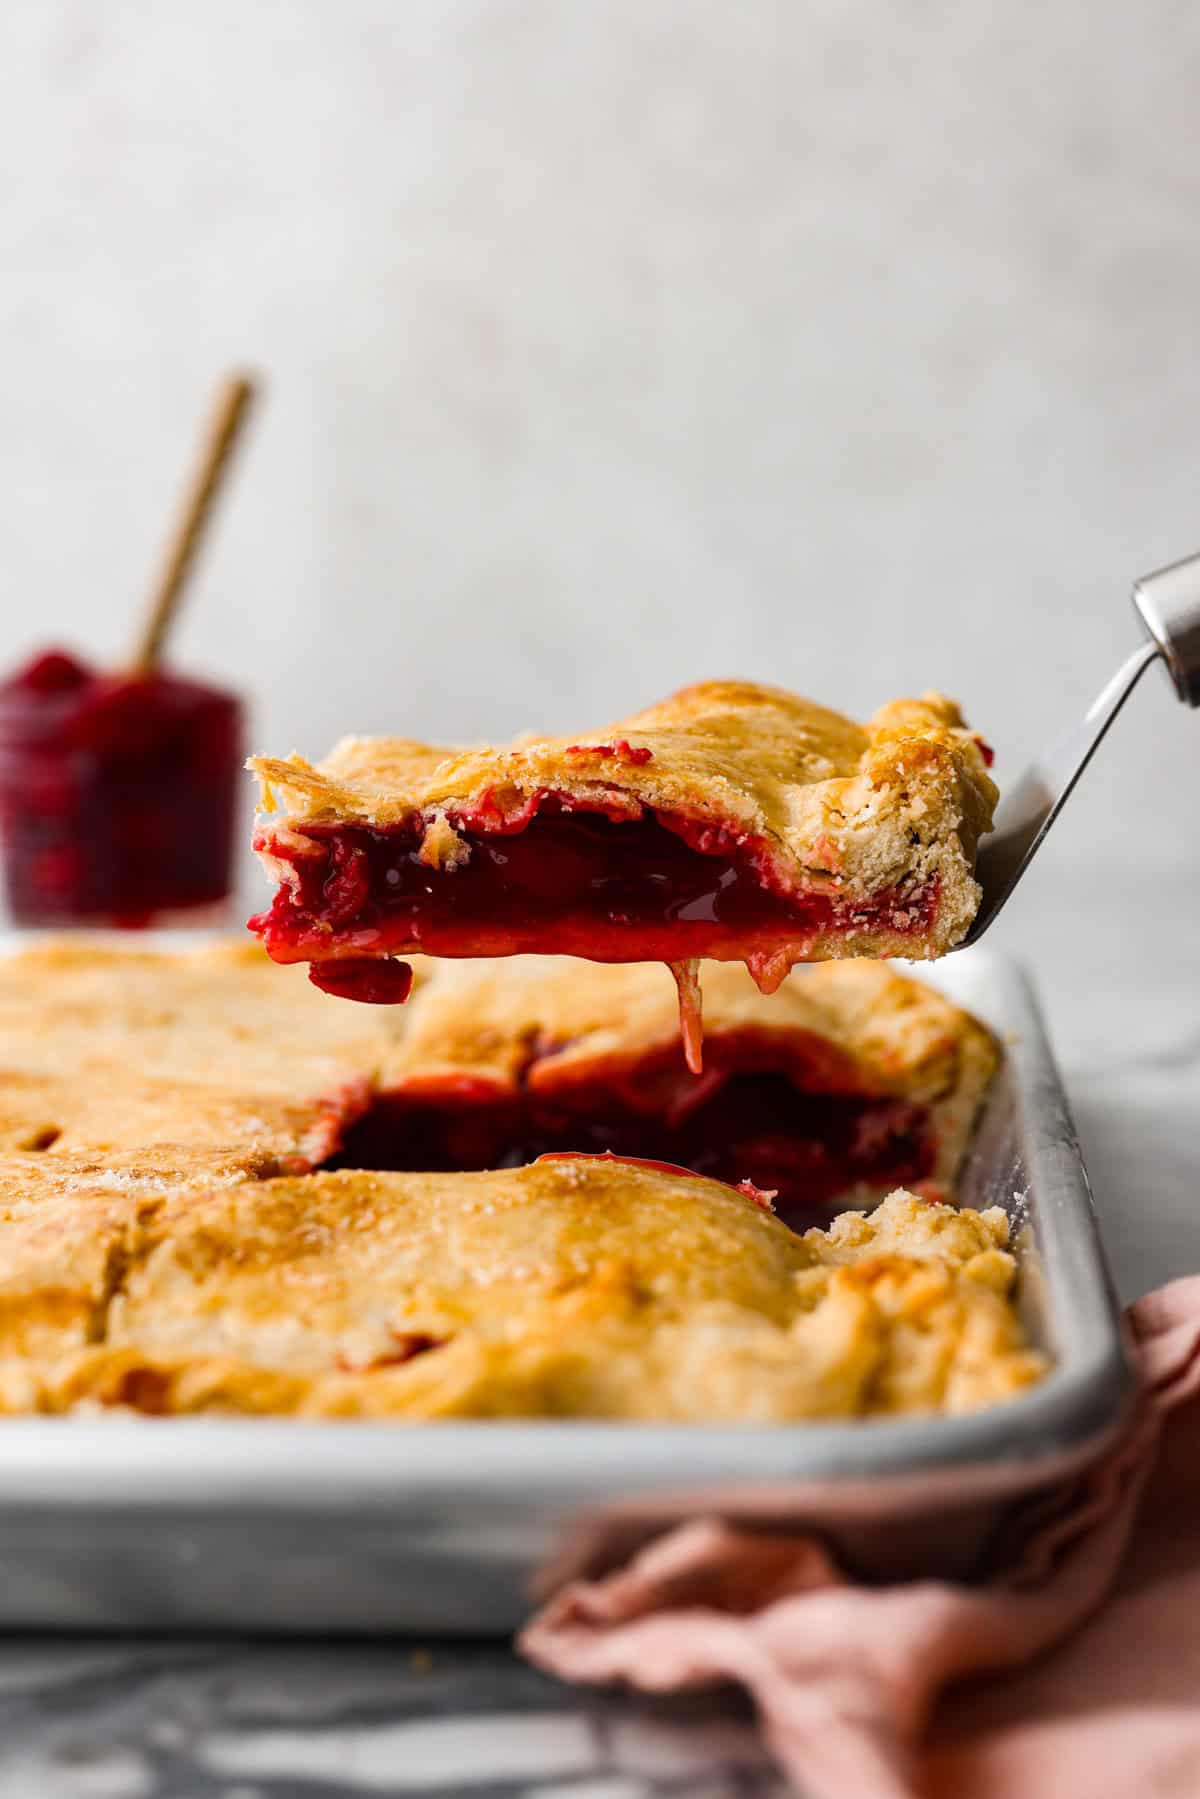
Cherry Slab Pie is an American classic made to serve a crowd! This recipe uses a tender, flaky crust that surrounds sweet, juicy cherry pie filling. It tastes incredibly delicious and is the perfect dessert for any time of year.
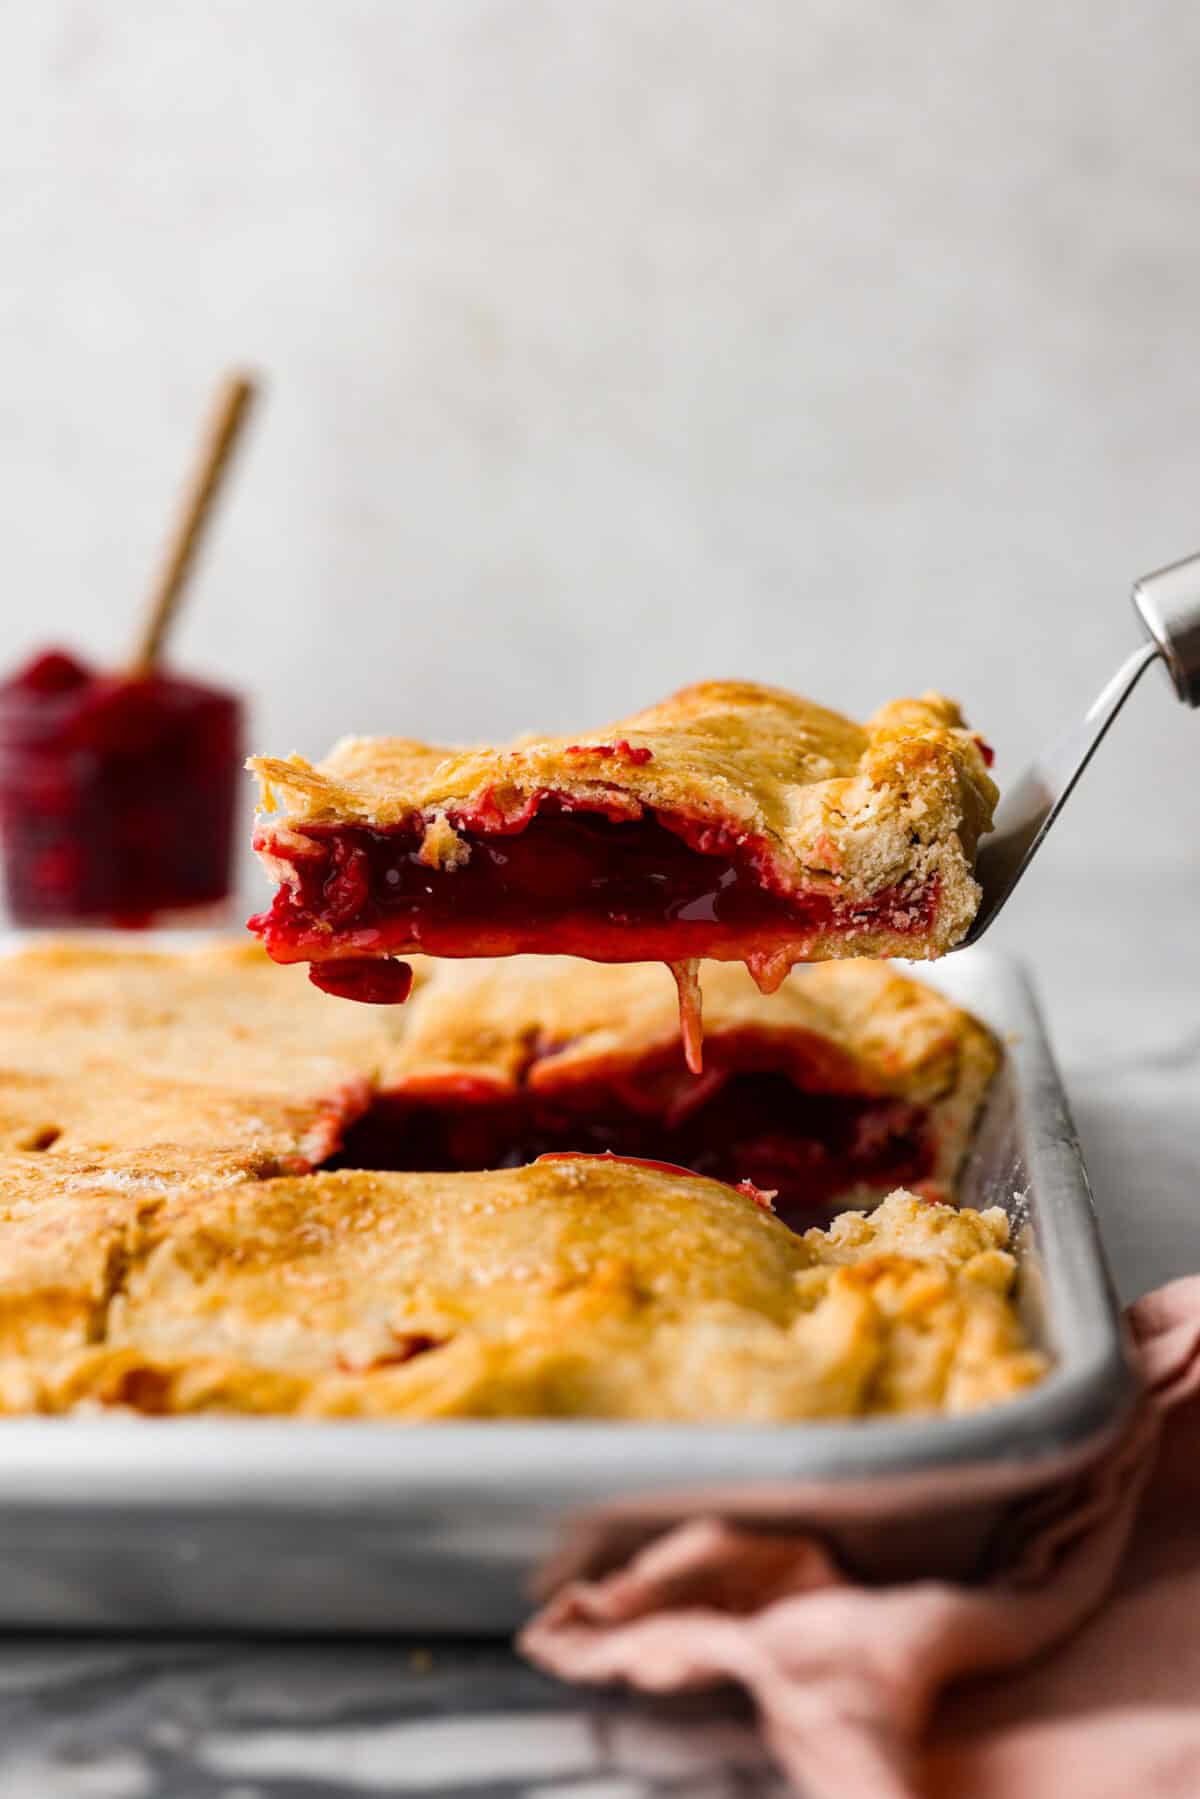
Reasons You’ll Love This Recipe
- Irresistible Flavor: This cherry slab pie combines flaky pie crust with sweet-tart cherry filling for a yummy dessert that everyone loves.
- Perfect for Sharing: These are great for gatherings because the recipe makes enough to serve 24! You can serve warm slices with a scoop of vanilla ice cream or cool completely and cut into bars.
- Great for Any Occasion: Cherry pie is one of those versatile desserts that’s fabulous for summertime, birthdays, potlucks, or the holidays.
Ingredients For Cherry Pie Slab Recipe
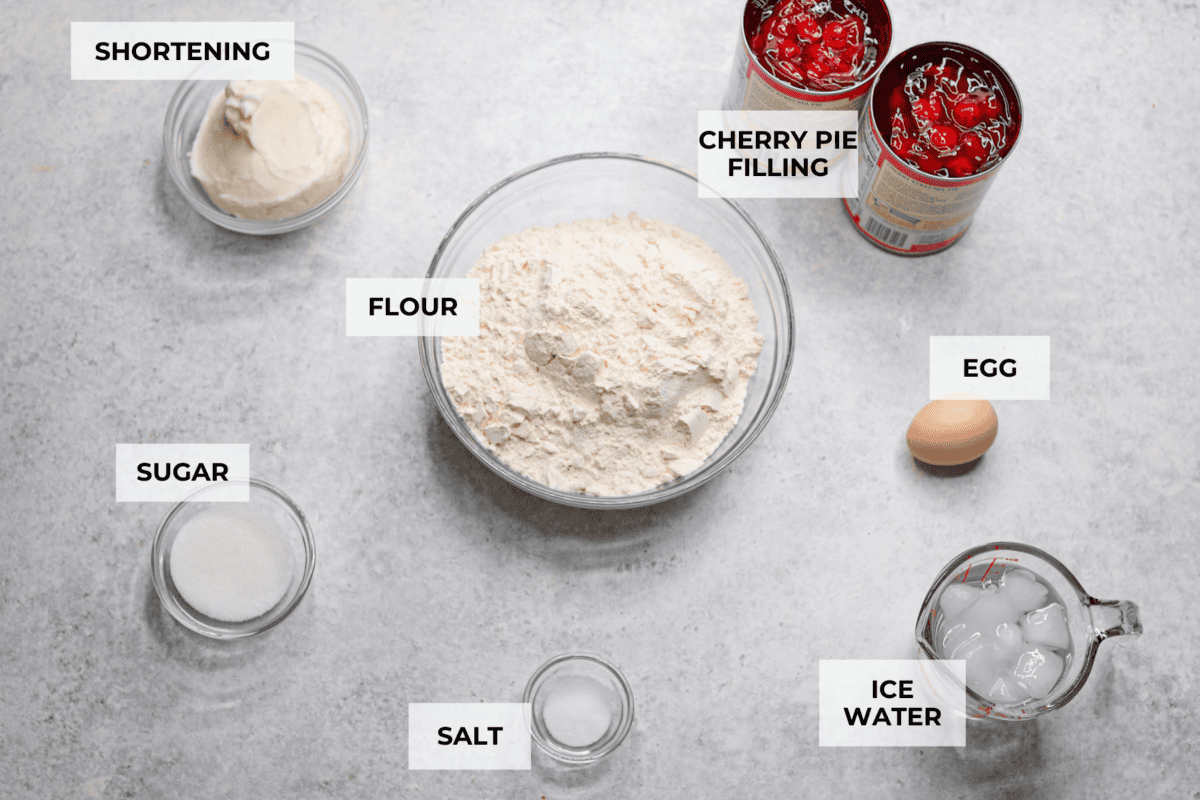
Can you believe you only need seven simple ingredients to make this gorgeous and yummy cherry slab pie recipe? You probably have everything but the cherry pie filling! All of the exact ingredient measurements are listed at the bottom of the post on the recipe card.
- Flour: The base for the crust. Use all-purpose flour for maximum tenderness.
- Salt: Adds flavor to the crust.
- Shortening: This is what will give your crust the best flaky texture.
- Cold Water: It’s crucial that the water is cold so your crust is nice and flaky. Add it slowly until the dough forms, and don’t over-mix.
- Cherry Pie Filling: Use canned cherry pie filling for convenience that tastes delicious and fruity.
- Egg: Beat one large egg for the egg wash before baking. This will give your slab pie a pretty golden crust.
- Sugar: Add a topping of granulated sugar or turbinado sugar before baking.
How to Make a Cherry Slab Pie
If you love my caramel apple slab pie, you will enjoy this cherry version. Like the Apple version, this comes together quickly by following the step-by-step instructions. Don’t be intimidated by the number of steps, they’re straightforward, and before you know it, you’ll have a crowd-pleasing dessert!
Dough
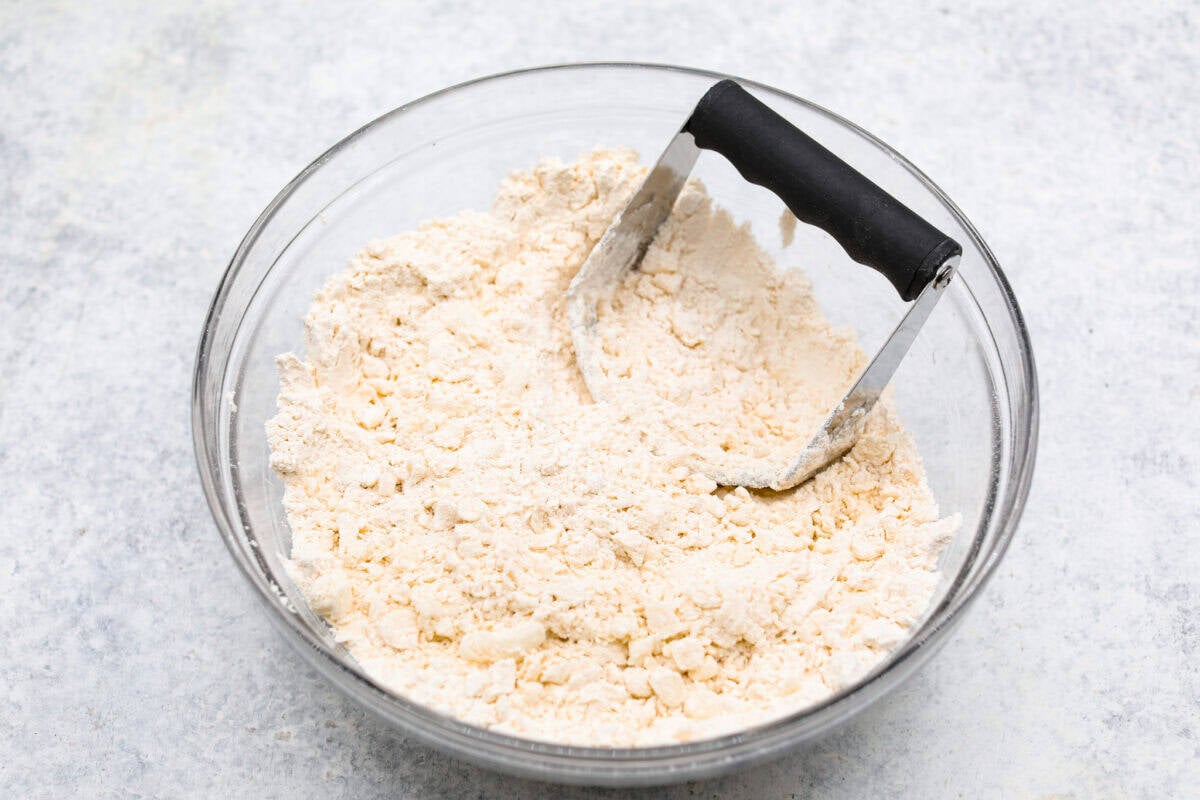
- Prep: Preheat the oven to 375°F. Lightly spray a 10x15x1-inch jelly roll pan and set aside. In a large bowl, whisk together the flour and salt, then cut in the shortening with a pastry cutter until the mixture resembles peas.
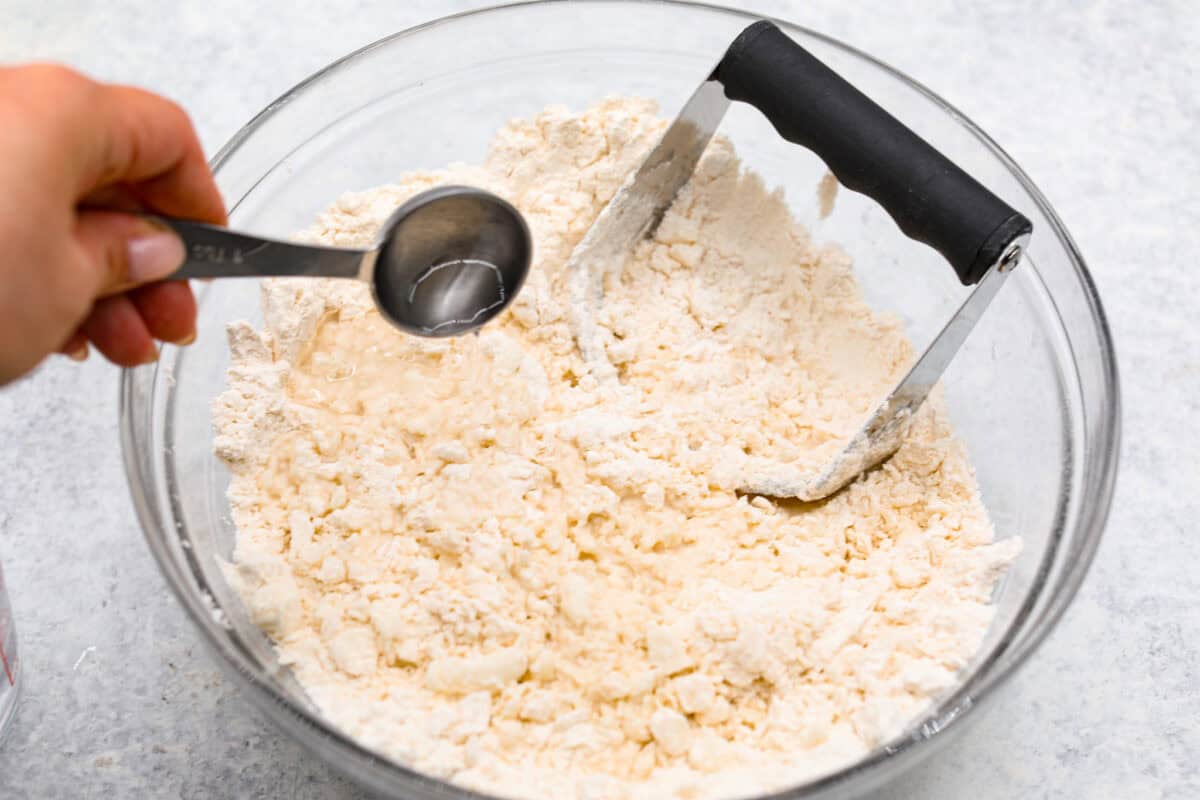
- Add Water: Add ten tablespoons of the cold water and toss together with a fork. Add one tablespoon of additional water at a time until the flour mixture has been moistened and can be pressed into a large ball of dough.
Slab
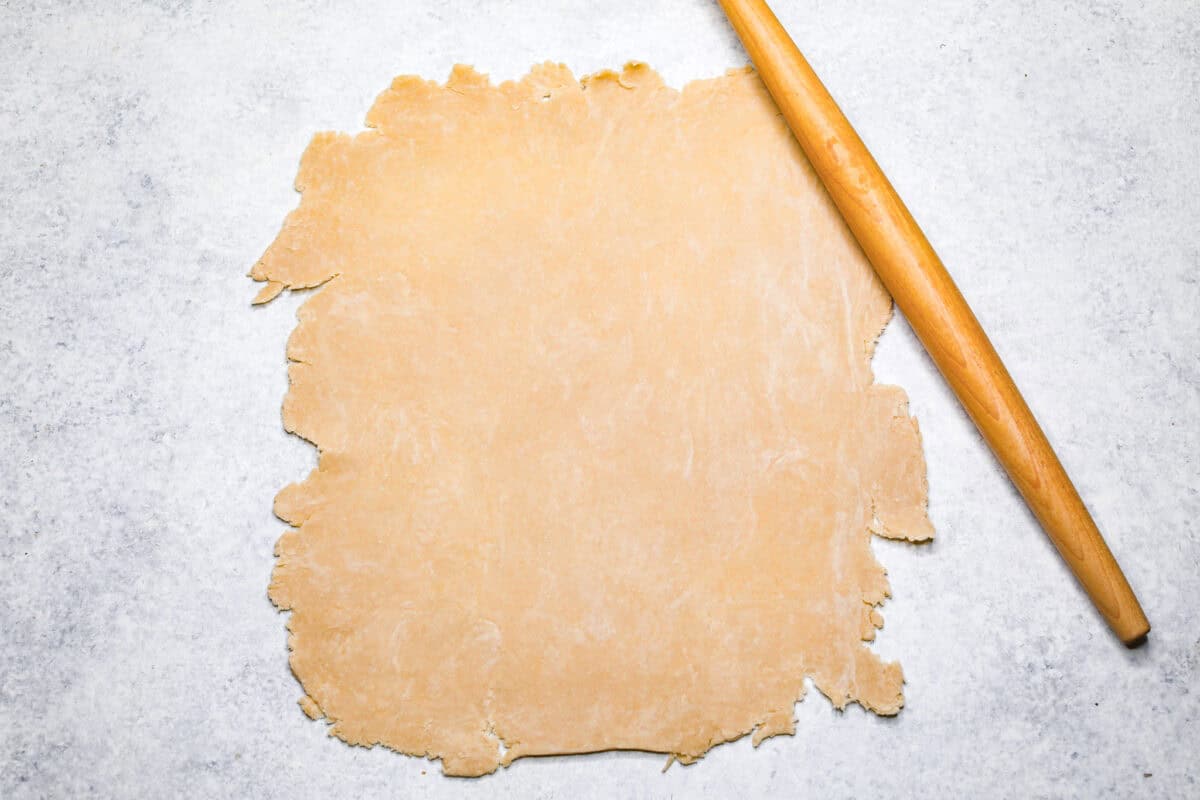
- Roll the Dough: Separate the dough into two balls, one slightly bigger than the other. Wrap the smaller ball in plastic wrap and store it in the fridge. Roll out the larger dough ball on a lightly floured surface until you have a large rectangle slightly larger than 12×17 inches and thinner than ¼-inch thick.
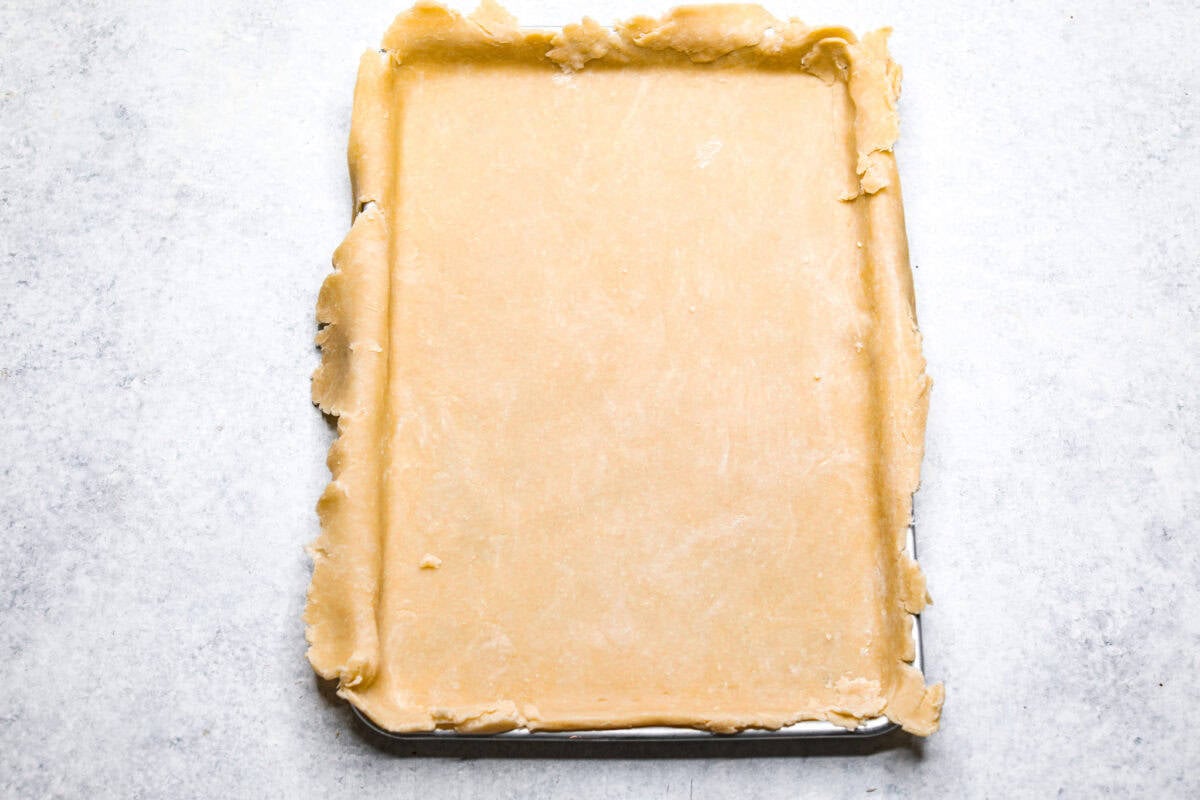
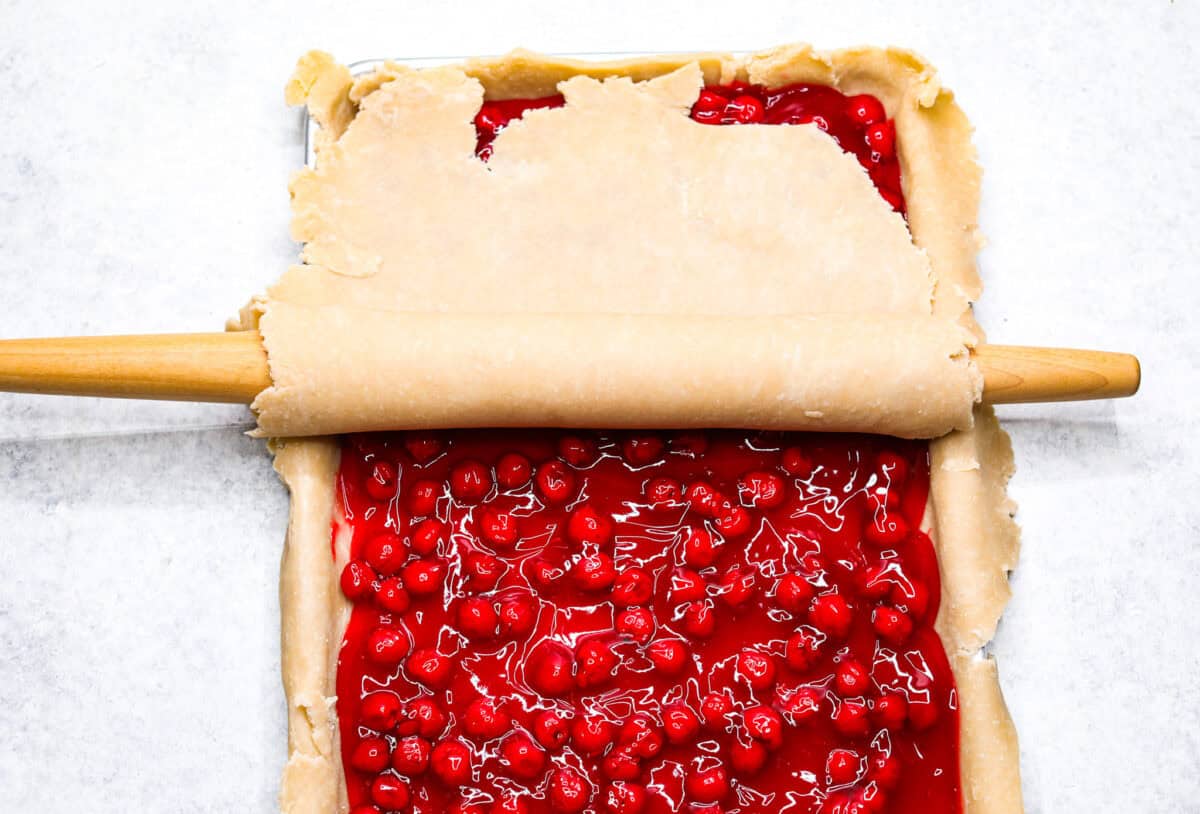
- Transfer Crust to Pan: Gently roll the sheet of pie crust up onto the rolling pin to transfer it to the prepared jelly roll pan. Unroll the crust onto the pan and carefully press it evenly into the pan.
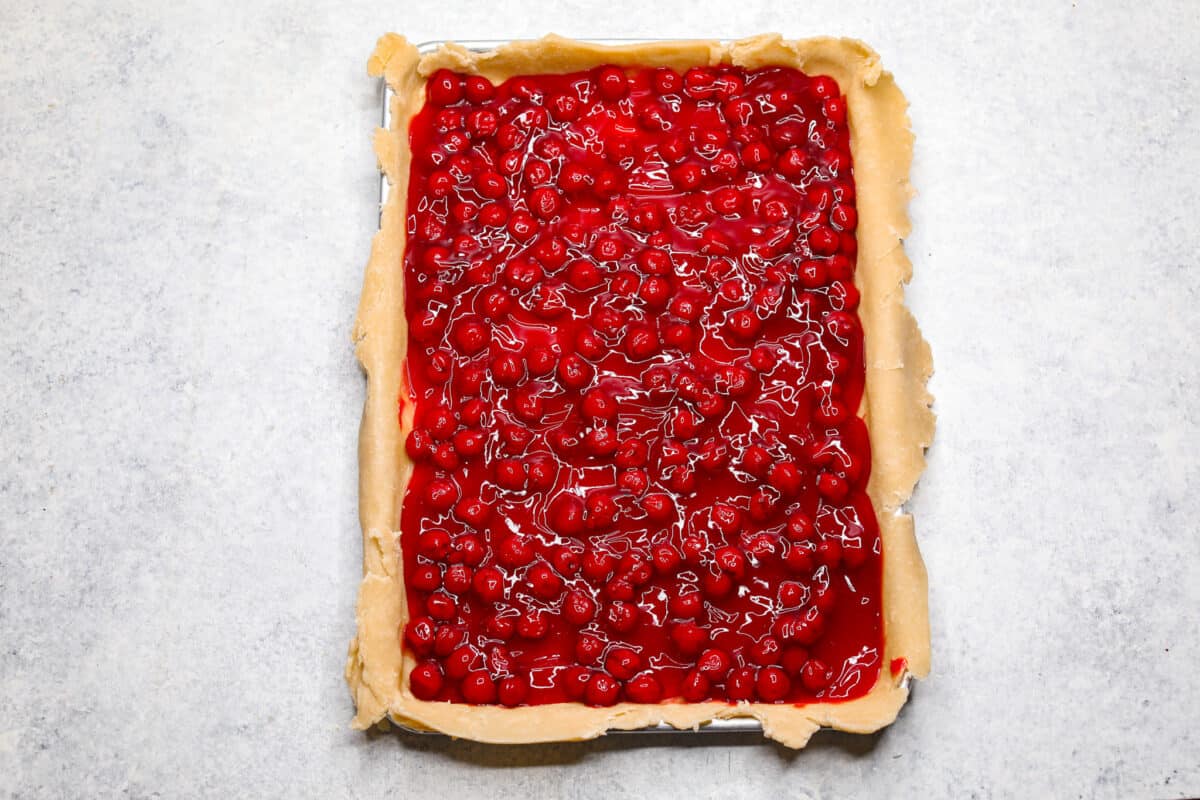
- Add the Filling: Add the cherry pie filling to the crust, spreading it to fill the entire pan.
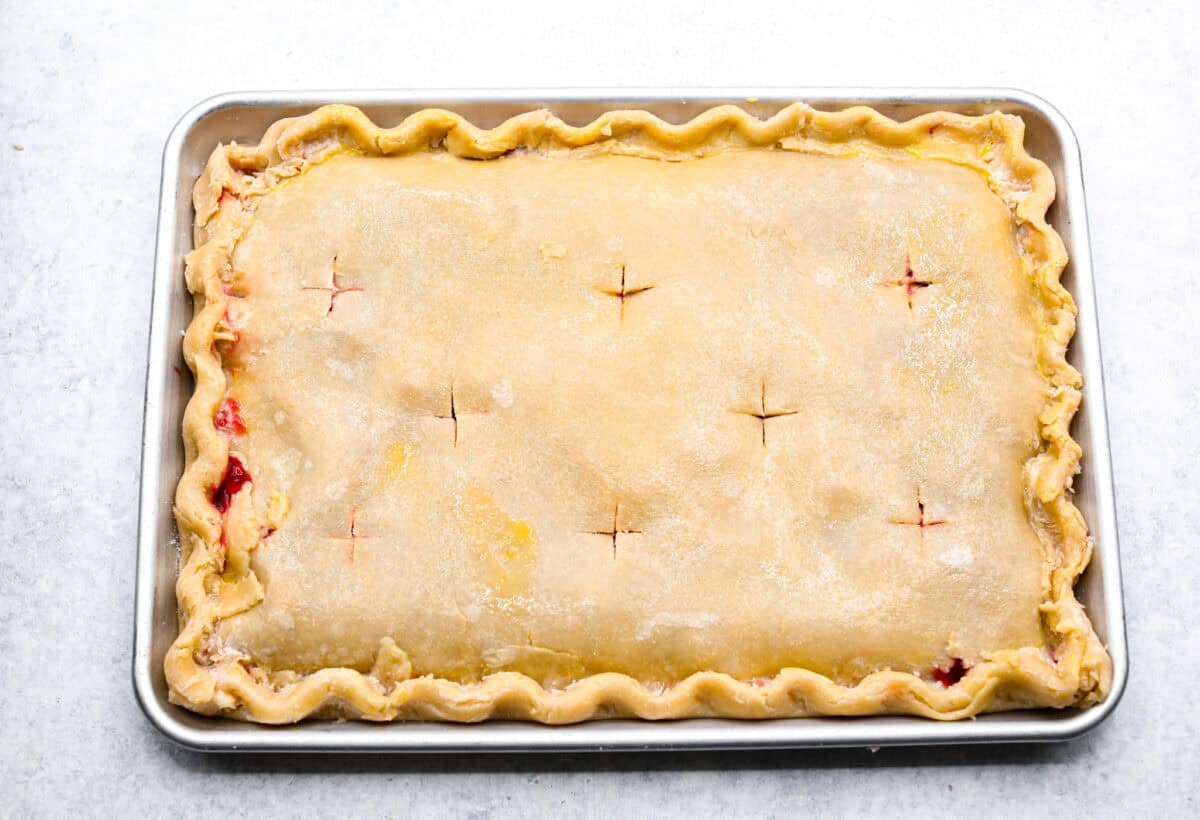
- Roll and Add the Top Dough: Roll the remaining dough into a 10×15-inch rectangle and top the pie. Fold over the edge of the bottom crust and crimp or pinch the edges as desired, trimming any excess dough.
- Bake: Cut several slits in the top crust to vent the pie. Beat an egg in a small bowl, then brush it over the crust and sprinkle lightly with sugar. Bake on a lower rack for 45-55 minutes until golden brown and bubbly. Let cool for at least 20 minutes before serving, or cool completely and refrigerate until serving.
Tips for Making Cherry Slab Pie
This cherry slab pie recipe is pretty straightforward to make, but here are a few of my top tips to set you up for success!
- Dough: I recommend using homemade dough for this slab pie. Refrigerated pie crusts come in circles, requiring extensive handling to seal them into a large enough crust. If you prefer refrigerated dough, you’ll need enough for five to six 9-inch pies to easily create the two large rectangle crusts needed for this recipe.
- Rolling the Dough: Dust the rolling surface and the dough lightly with more flour as needed while rolling it out to keep it from sticking to the rolling pin or the surface.
- Patching Holes: When working with a large sheet of pie crust, if the dough tears, don’t start over, as that will overwork it. Instead, trim an edge or use a scrap to patch the hole. Dampen the torn edges and the patch, then press and pinch them together. Lightly dust with flour to prevent sticking as you continue rolling out the crust.
- Pie Filling: I used cherry pie filling with extra cherries, but any canned cherry filling works. For a more stuffed pie, consider adding another ½ can of filling, but a full third can of filling might be too much—feel free to experiment!
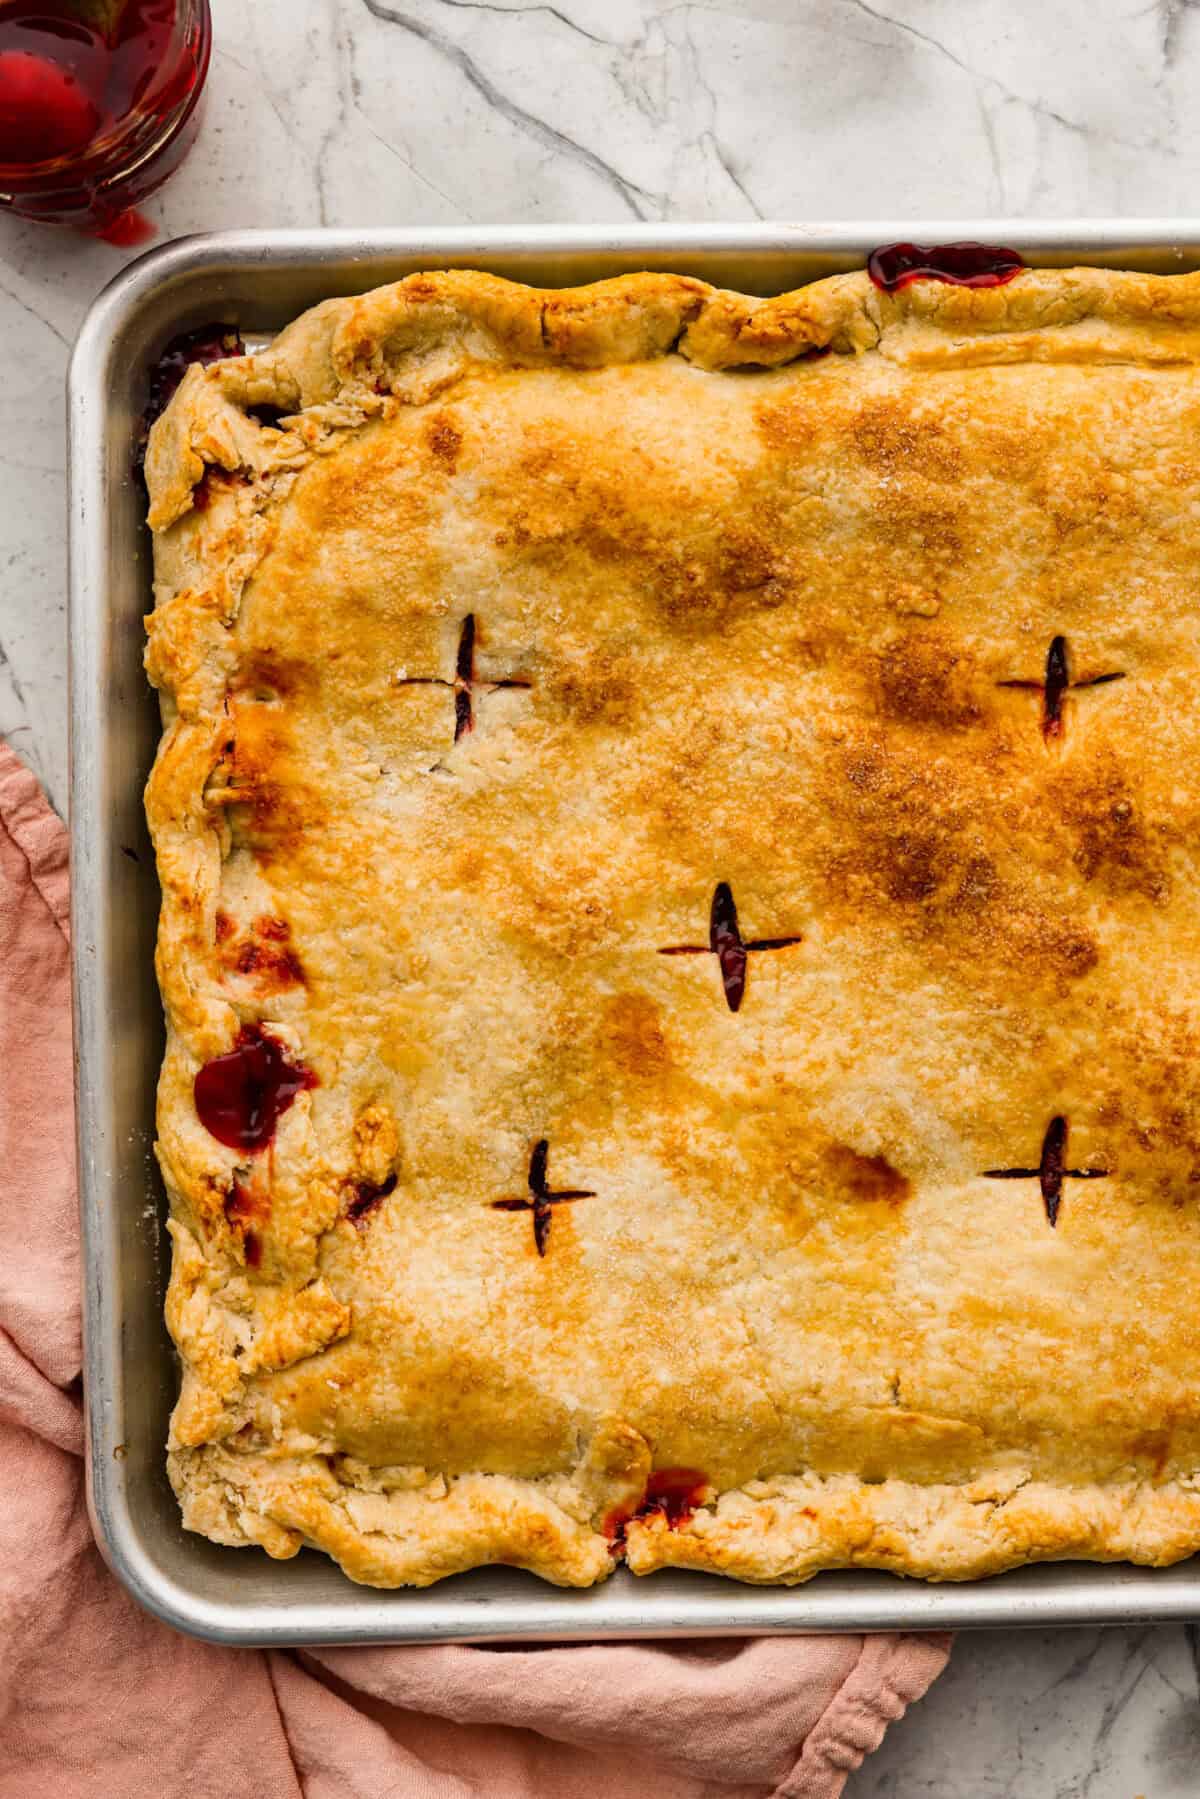
- Don’t underbake this pie! Pies are often served with only lightly golden crusts, leading to an underdone, gummy texture. The crust should be a deep golden brown all over. If there are no leaks, it should slide easily in the pan, indicating that the bottom crust is fully crisped and not sticking due to undercooking.
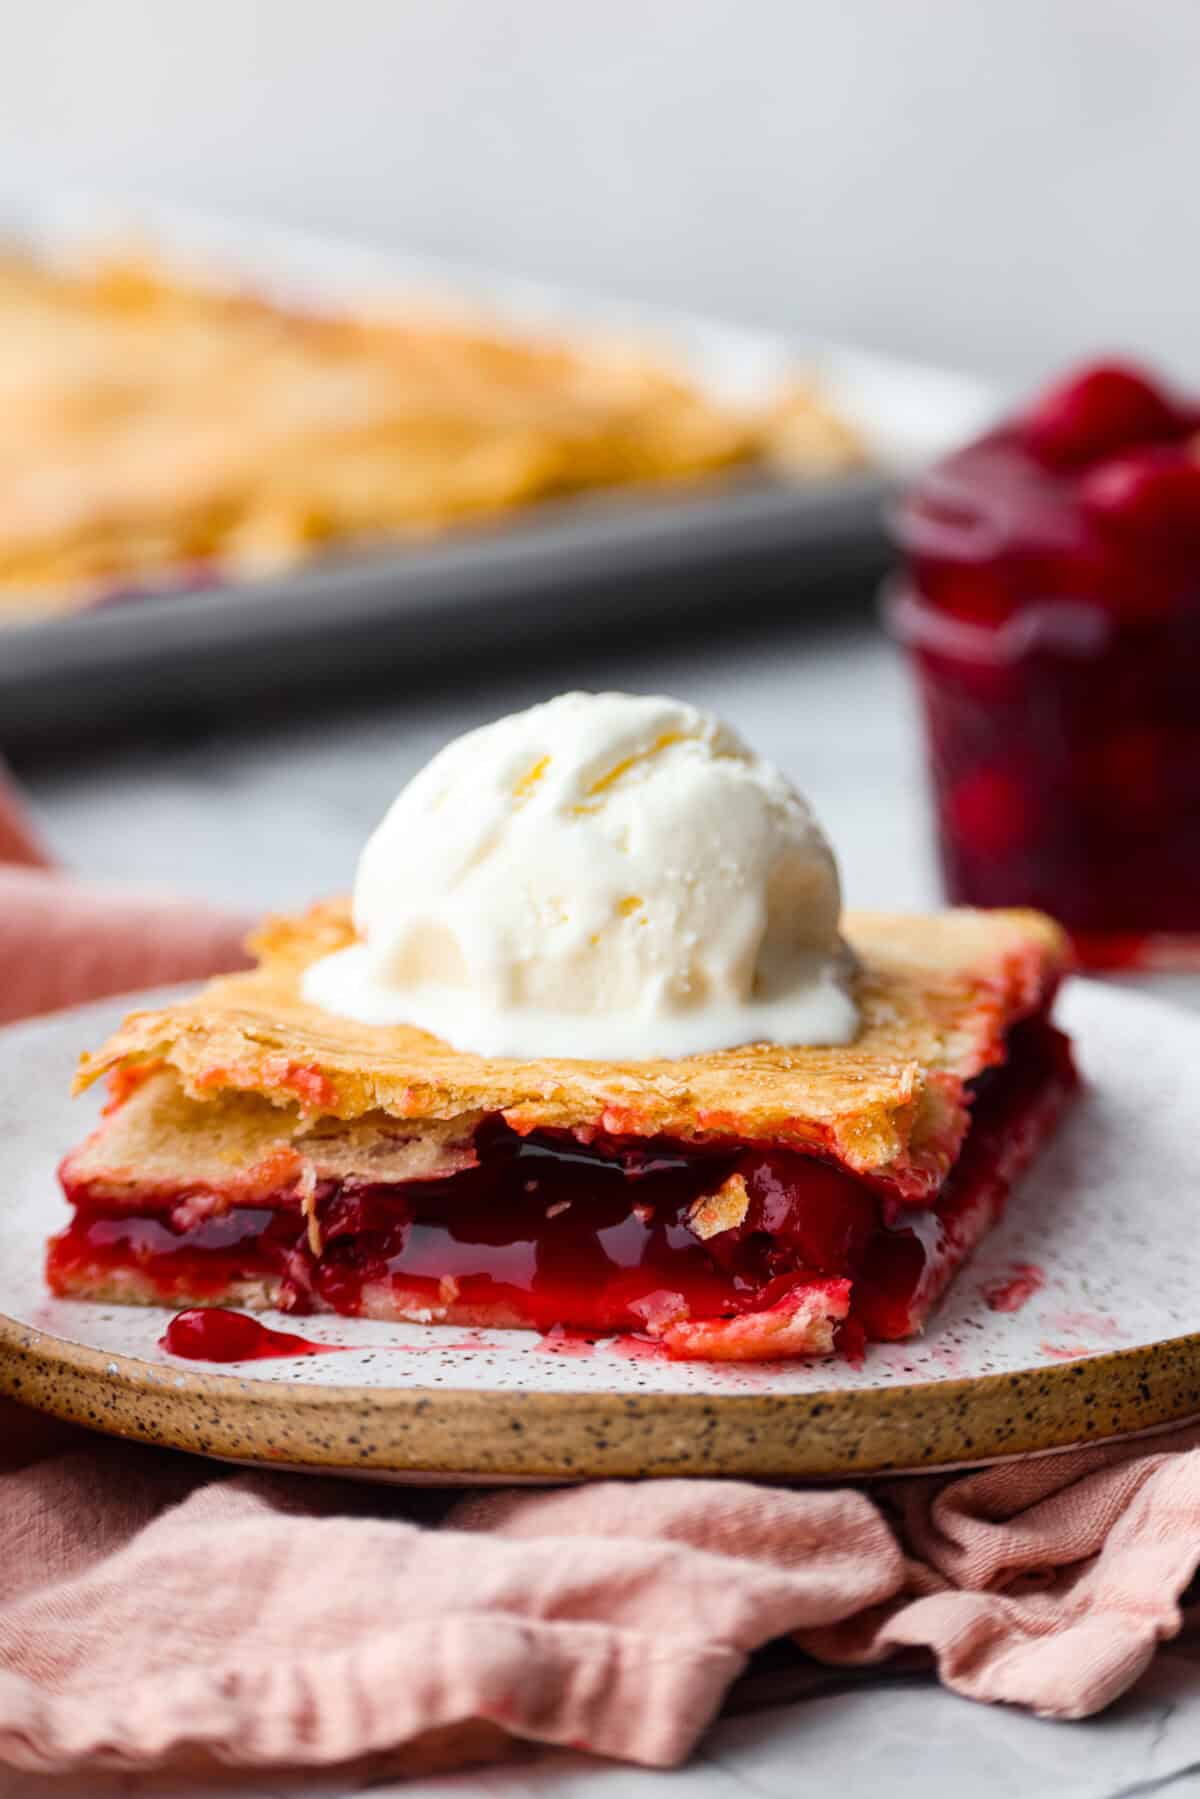
- Serve: Serve this cherry slab pie with vanilla ice cream or whipped cream!
Pie Crust Treat
Leftover Dough: If you have leftover dough, you can bake the trimmings separately, topping them with egg wash and cinnamon sugar for a special treat.
Storing Leftover Cherry Pie Slab
In the Refrigerator: Once the pie has cooled completely cover it loosely with aluminum foil. Store it in the refrigerator for up to 3 days. You may prepare it in advance and refrigerate it, or refrigerate the leftovers if you serve it the same day it is made.
In the Freezer: You can freeze cherry slab pie two different ways:
- 1) Fully Baked: Bake the slab pie as directed. Let it cool completely before carefully wrapping it in a few layers of plastic wrap, followed by a layer of heavy-duty aluminum foil. Freeze it for up to 3 months and thaw it overnight in the refrigerator.
- 2) Not Baked: Prepare the slab pie through step 7. Carefully wrap the pie in a few layers of plastic wrap, followed by a layer of heavy-duty aluminum foil. Freeze it for up to 3 months. Bake directly from frozen at 375 degrees Fahrenheit for 60-70 minutes, or let it thaw overnight in the refrigerator before baking as directed in the recipe card. Regardless, vent the pie and top it with the egg wash and sugar before baking.
More Delicious Fruit Pie Recipes
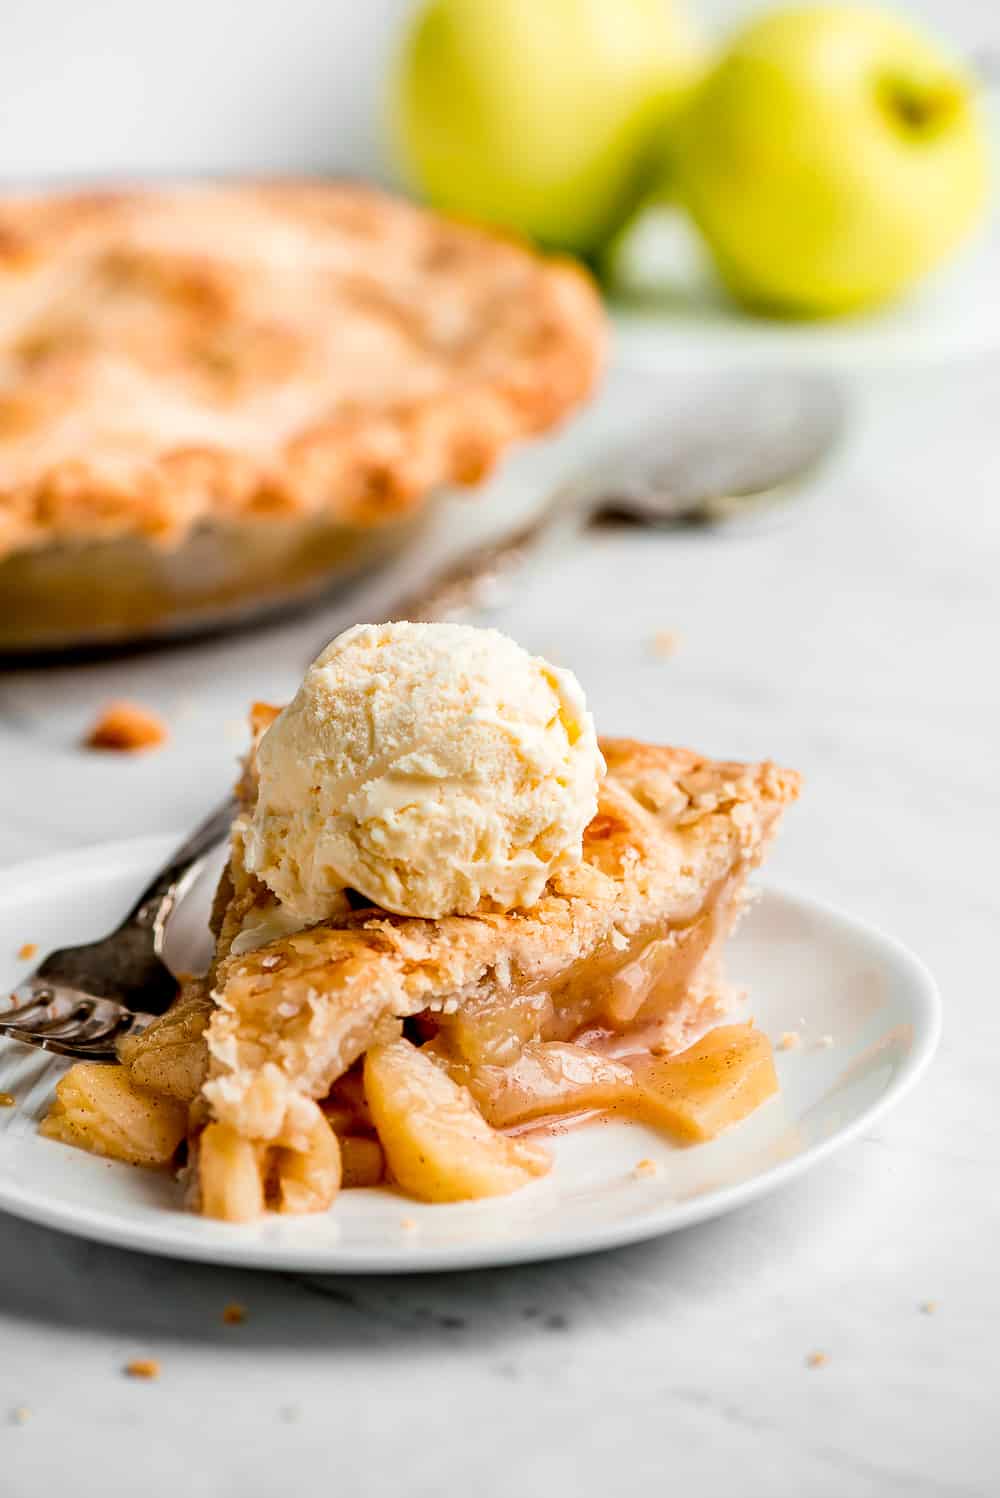
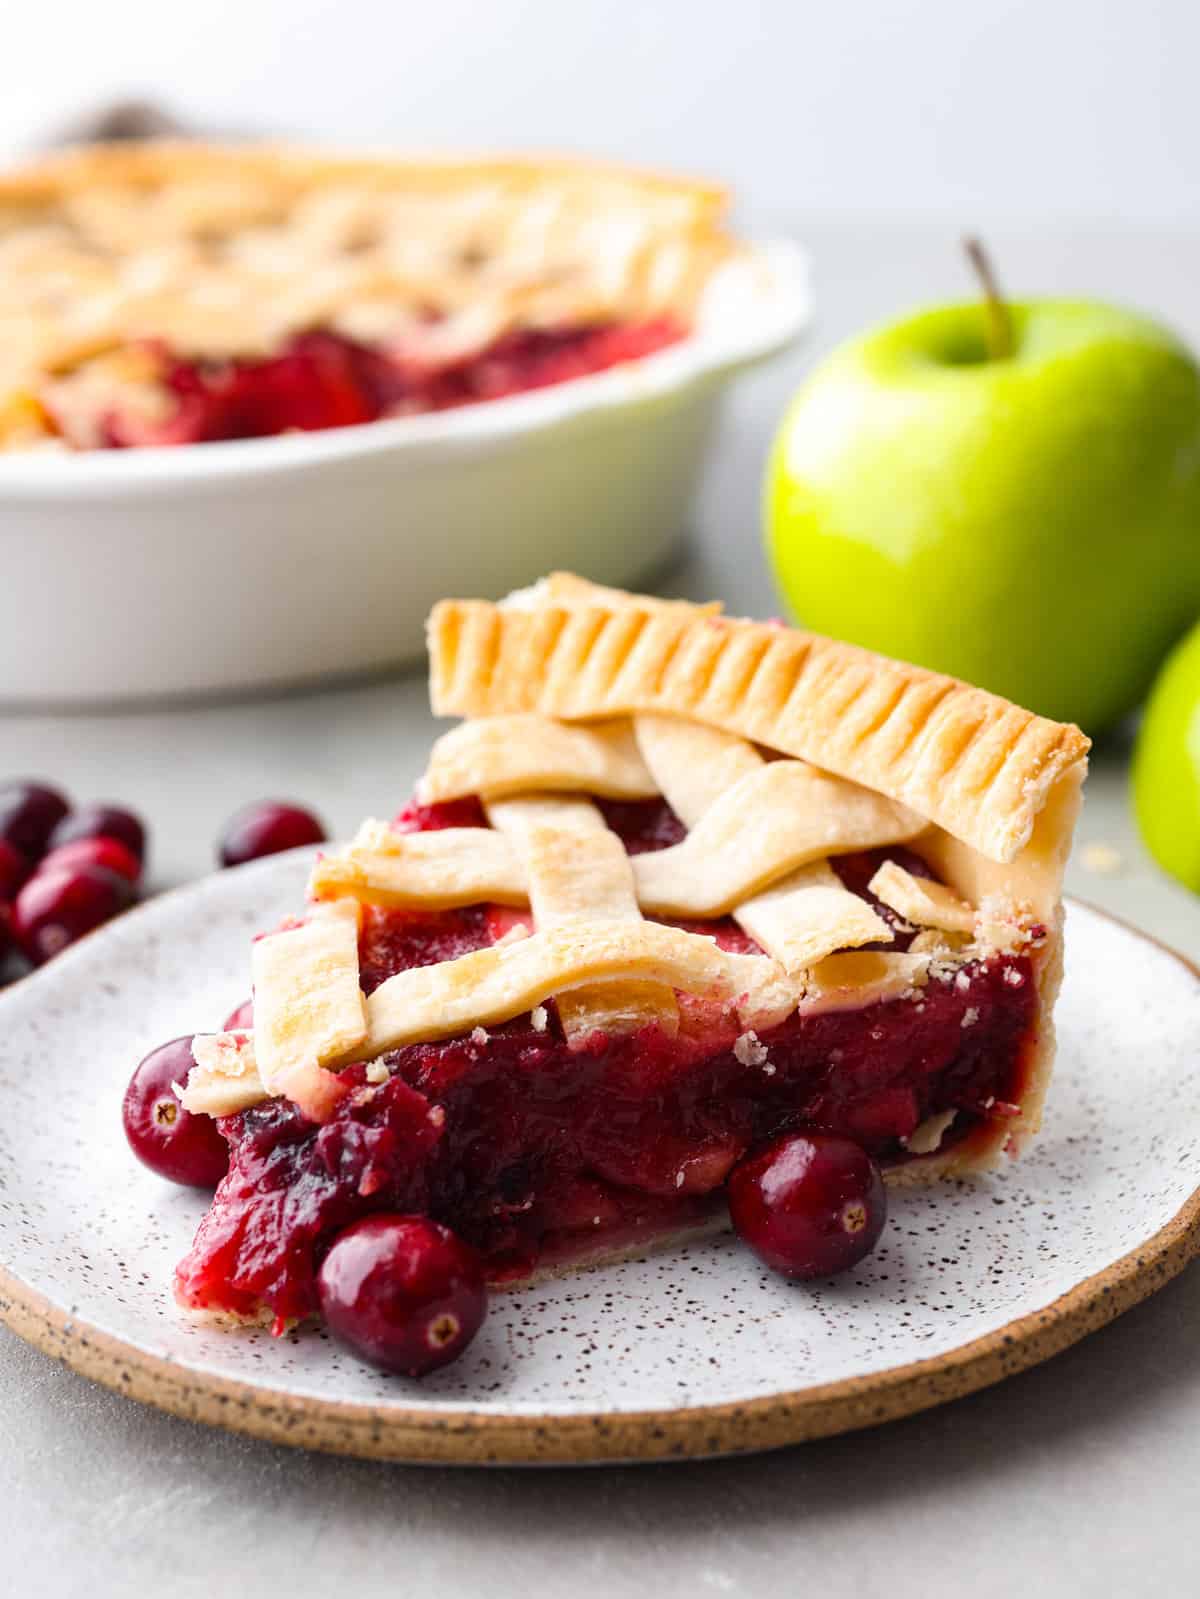
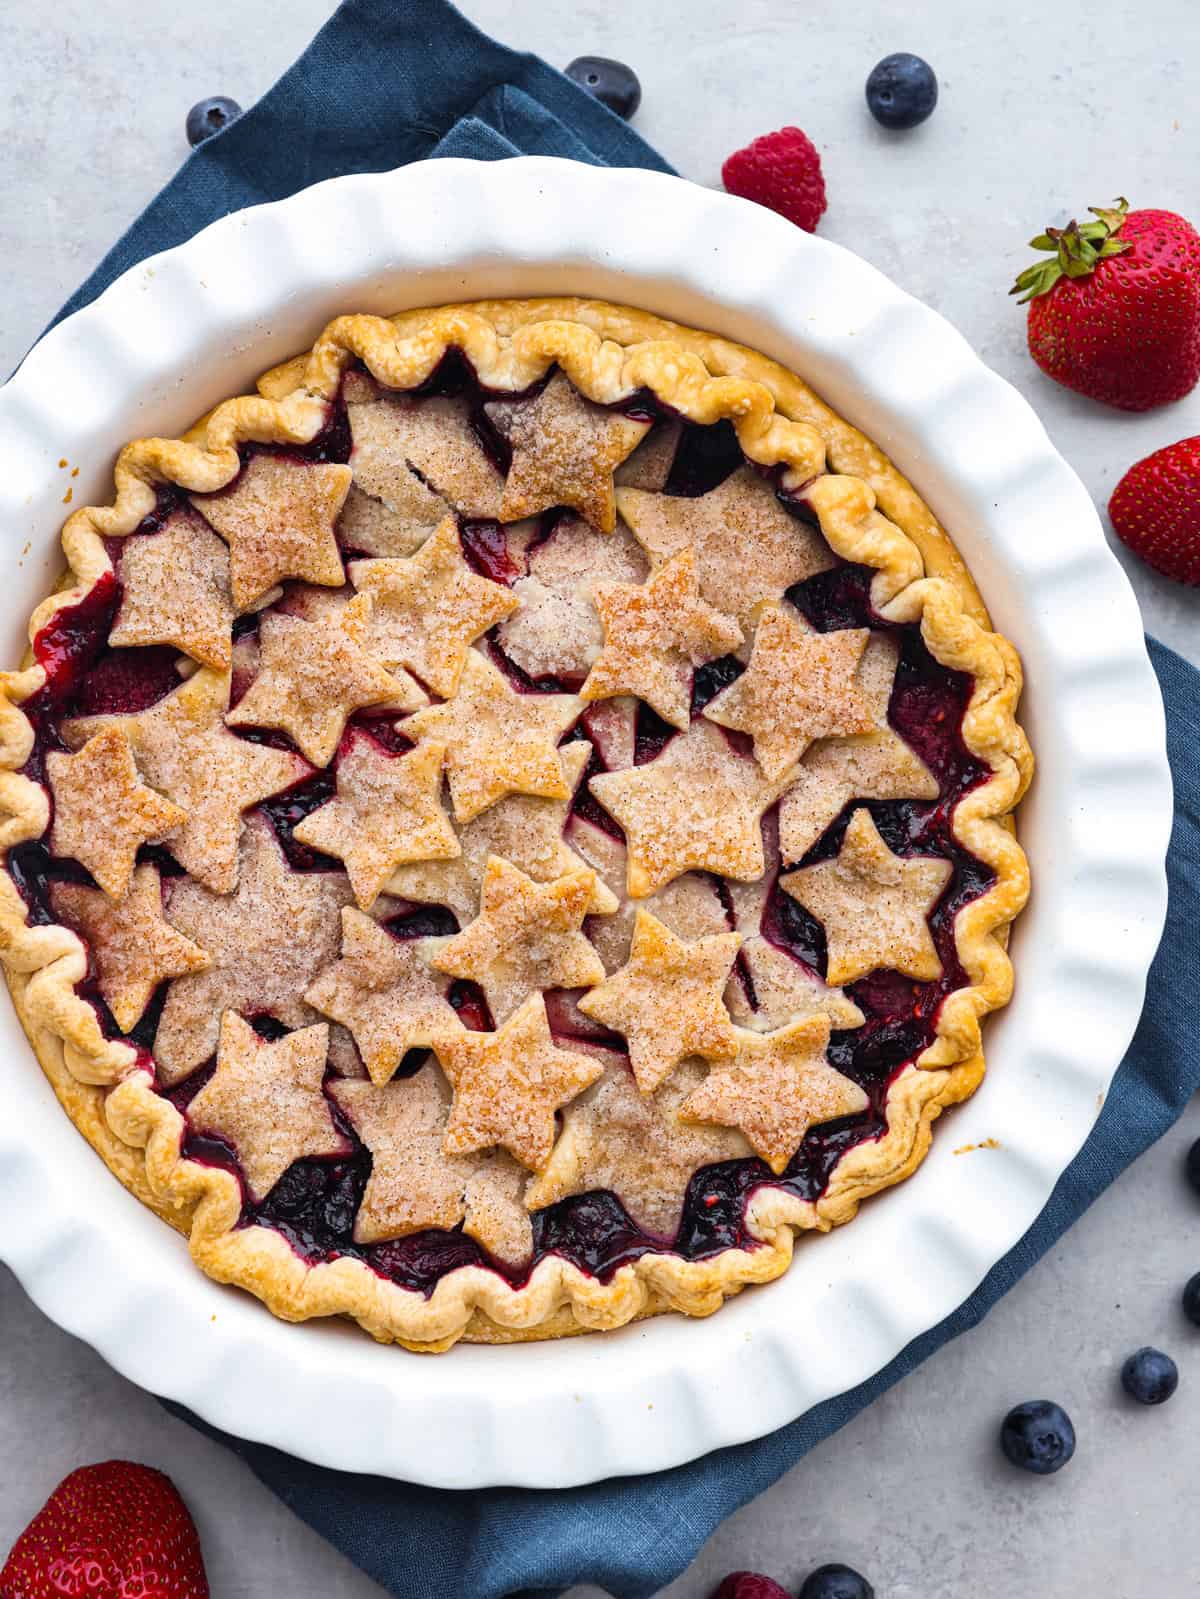
Fruit pies are the perfect dessert for just about any occasion. Whether it’s the holiday season, a potluck, or a family get-together, there are a variety of options! Here are a few of my favs and be sure to check out all of my pie recipes!
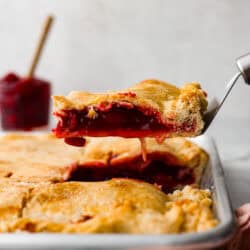
Cherry Slab Pie
Ingredients
- 4 ⅓ cups all-purpose flour
- ¾ teaspoon salt
- 1 ¼ cup shortening
- 15 to 17 tablespoons cold water
- 2 (21-ounce) cans cherry pie filling
- 1 large egg, for egg wash
- sugar for topping, granulated or turbinado
Instructions
-
Preheat the oven to 375 degrees Fahrenheit. Lightly spray a 10x15x1-inch jelly roll pan with pan spray and set aside.
-
In a large bowl, whisk together the flour and salt. Add the shortening and cut it into the flour mixture with a pastry cutter until it is about the size of peas or a little smaller.
-
Add 10 tablespoons of the cold water and toss together with a fork. Add 1 tablespoon of additional water at a time until all of the flour mixture has been moistened and can be pressed into a large ball of dough.
-
Separate the dough into two balls, one a little bit bigger than the other. Wrap the smaller ball in plastic wrap and store it in the refrigerator. Roll out the larger ball of dough on a lightly floured surface until you have a large rectangle slightly larger than 12×17 inches and slightly thinner than ¼-inch thick.
-
Gently roll the sheets of pie crust up onto the rolling pin to transfer it to the prepared jelly roll pan. Unroll the crust onto the pan and carefully press it evenly into the pan.
-
Add the cherry pie filling to the crust, spreading it to fill the entire pan.
-
Roll the remaining dough into a 10×15-inch rectangle and top the pie with it. Fold over the edge of the bottom crust and crimp or pinch the edges as desired, trimming any excess dough.
-
Use a paring knife to cut several slits in the top crust to vent the pie.
-
In a small bowl, beat the egg, then brush it across the top crust using a pastry brush. Sprinkle the top lightly with sugar.
-
Bake on a lower rack in the oven for 45-55 minutes, until the crust is golden brown and the filling is bubbling inside.
-
Let the pie cool for at least 20 minutes before serving, or cool completely and store in the refrigerator until serving.
Nutrition
from The Recipe Critic https://ift.tt/V5D8PRj
Comments
Post a Comment